

Getting Started with Arduino UNO Q


Getting Started with Arduino UNO Q
The Arduino UNO Q represents a new era of Arduino development, bringing together high-performance Linux computing and real-time hardware control on a single board. Designed for modern applications such as AI, robotics, computer vision, and IoT, it offers powerful capabilities while maintaining the simplicity that Arduino is known for.
While the board packs an impressive range of features, getting started is surprisingly straightforward. Arduino App Lab streamlines the onboarding experience by guiding users through the initial configuration, network setup, and software installation process.
Before proceeding with the setup, it is important to understand what makes the UNO Q different from a traditional Arduino board. At its core, the UNO Q features a heterogeneous dual-processor architecture:
The Linux processor handles advanced computing tasks, while the STM32 microcontroller manages real-time hardware operations. Because of this architecture, the UNO Q requires an initial setup process using Arduino App Lab — and here is a guide for you to follow.
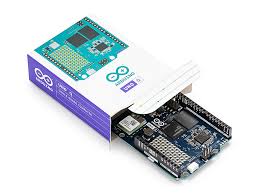
Unbox Your Arduino UNO Q
Carefully unbox your Arduino UNO Q. Take a moment to familiarize yourself with the board and its layout before proceeding with the software setup.
Once the board is ready, the next step is to download and install Arduino App Lab.
Download and Install the Arduino App Lab
Download Arduino App Lab from the official Arduino Software page:
https://docs.arduino.cc/software/app-lab/
After opening the page, locate the Arduino App Lab section and download the installer corresponding to your operating system (Windows, macOS, or Linux).
Once the download is complete:
- Run the installer.
- Follow the on-screen installation instructions.
- Launch Arduino App Lab.
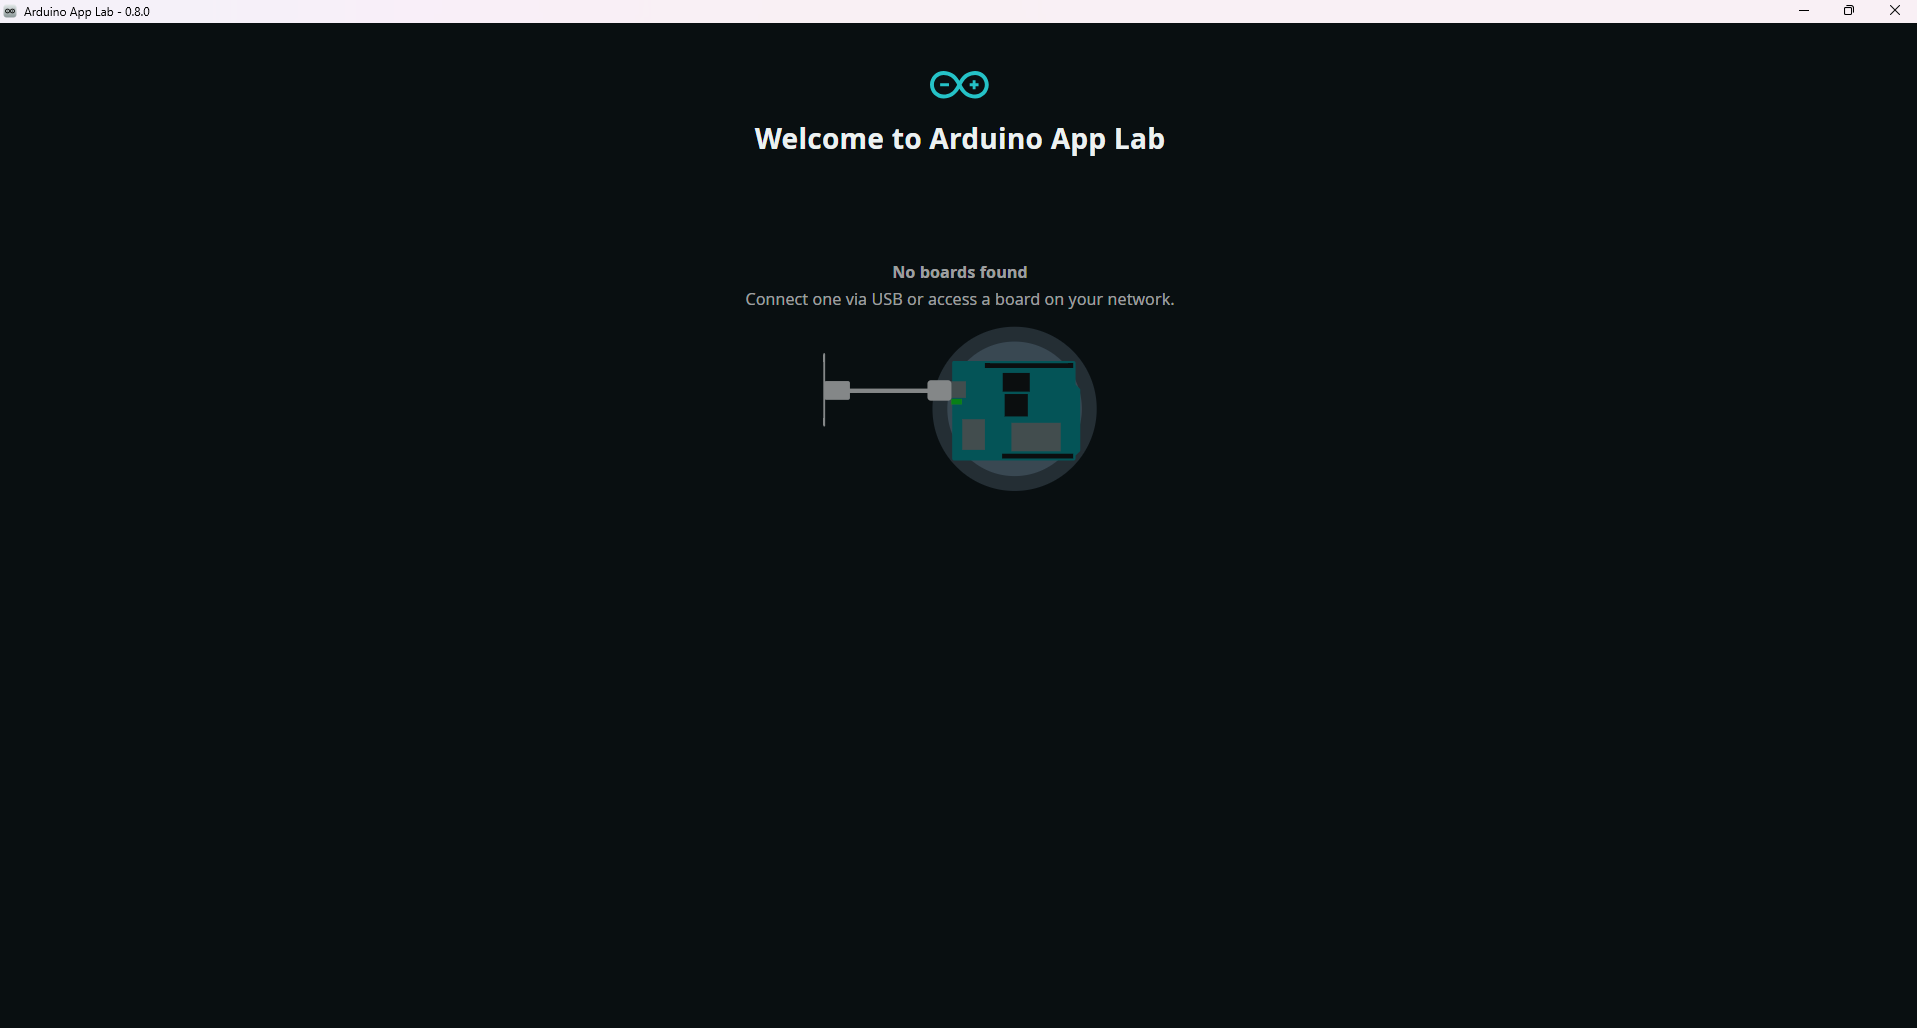
The application opens to the Welcome to Arduino App Lab screen, which serves as the central hub for discovering, configuring, and managing Arduino devices.
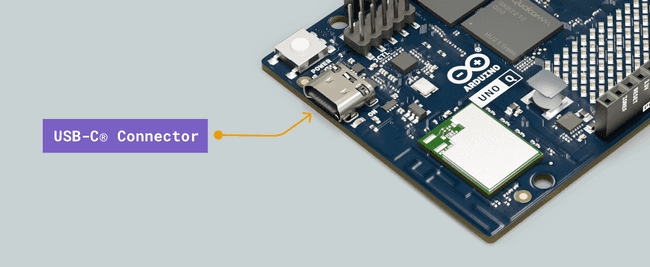
Connect the Arduino UNO Q
Using a USB-C cable, connect the UNO Q to your computer. As soon as the board powers on, you will notice a short startup sequence on the onboard LED matrix.
During boot:
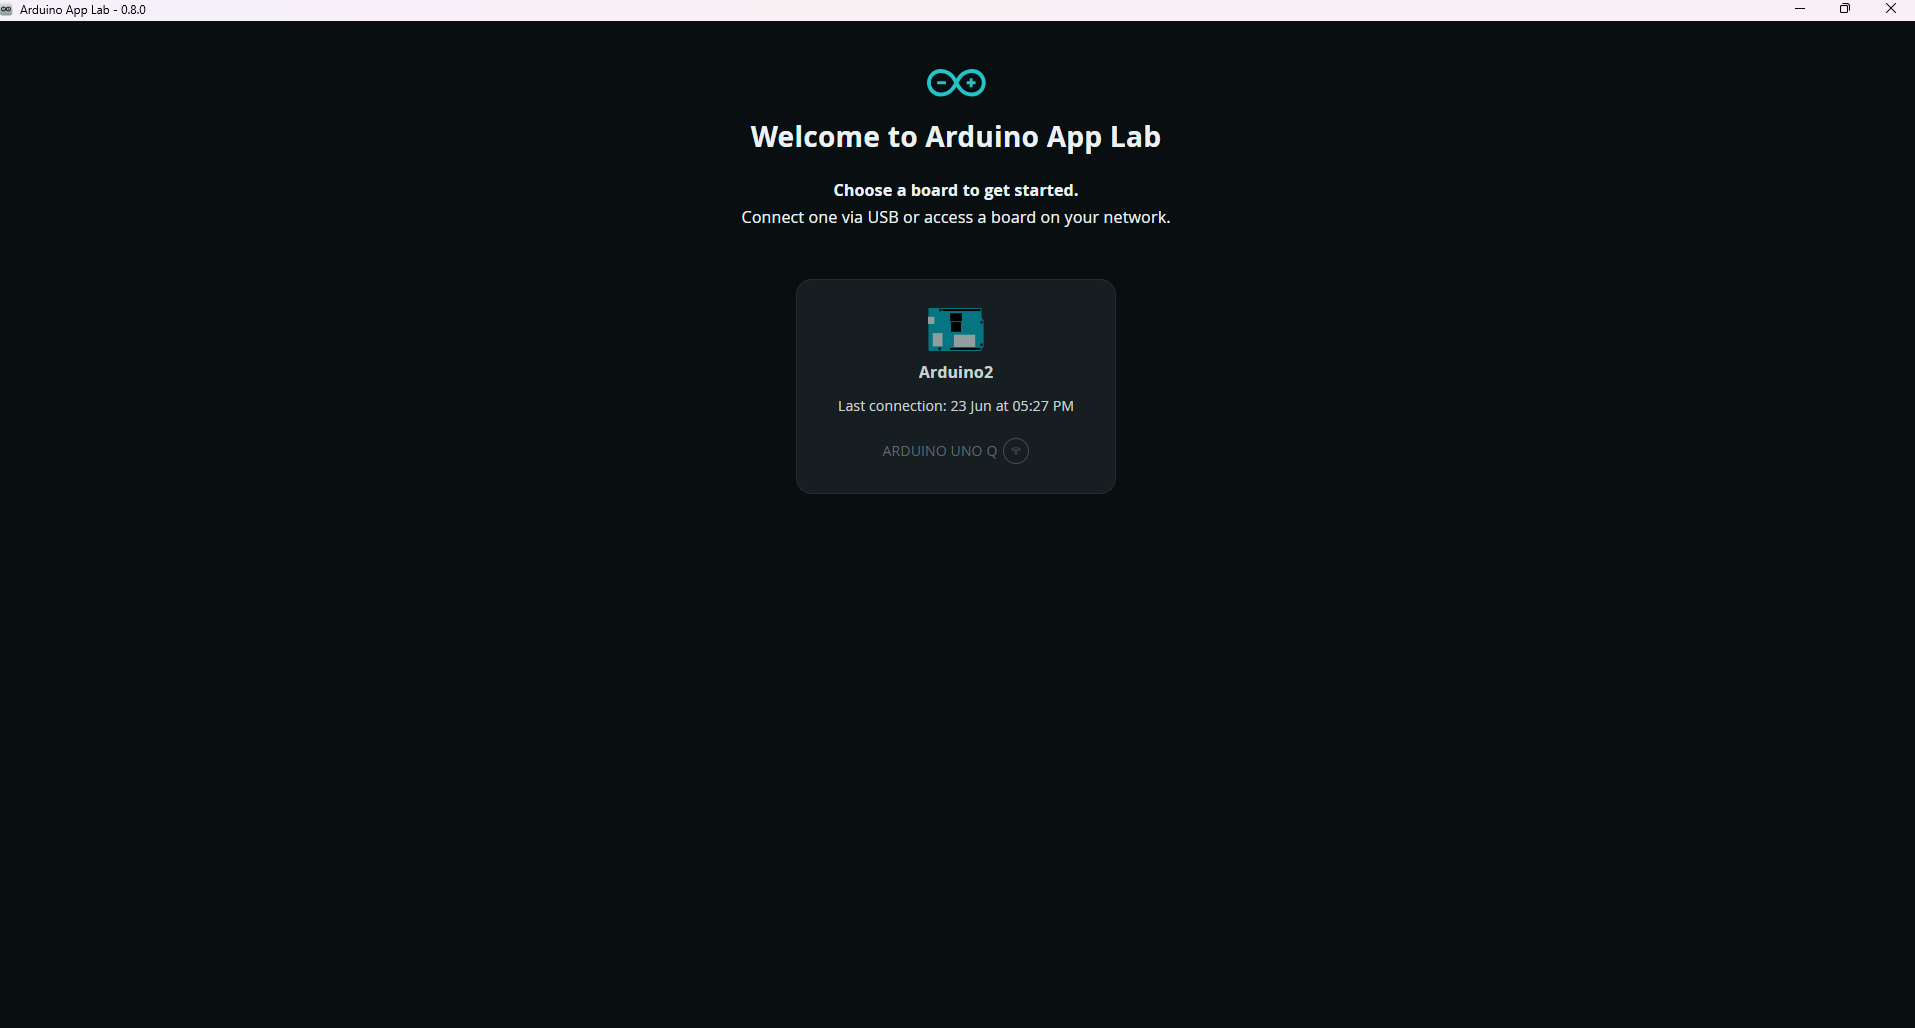
These indicators confirm that the board has powered successfully and is beginning its startup process. Arduino App Lab should now detect the connected device automatically.
Select Your Board
Once the board is detected:
- Select the Arduino UNO Q from the list of available devices.
- Click Continue.
Arduino App Lab will now launch the device setup wizard and guide you through the initial configuration process.
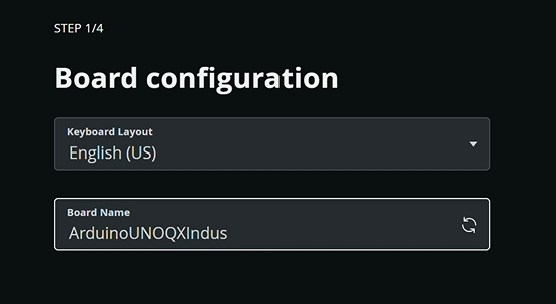
Configure Your Board
The setup page allows you to personalize the board. Here you can:
- Select your preferred keyboard layout.
- Assign a custom name to your Arduino UNO Q.
For example:
Once the settings are configured, click Next.
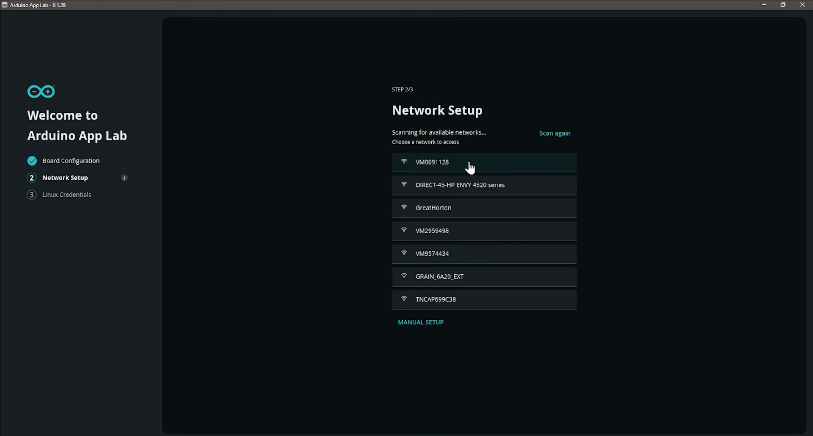
Configure Network Settings
The next stage is network configuration. Select the Wi-Fi network you would like the board to connect to and enter the required credentials.
A network connection is important because the board needs internet access to download and install the required Linux software packages and system components.
After entering the network details:
- Verify the selected network.
- Click Next to continue.
This makes future development more convenient, allowing you to monitor the board and access its services without requiring a physical USB connection except for the power supply.
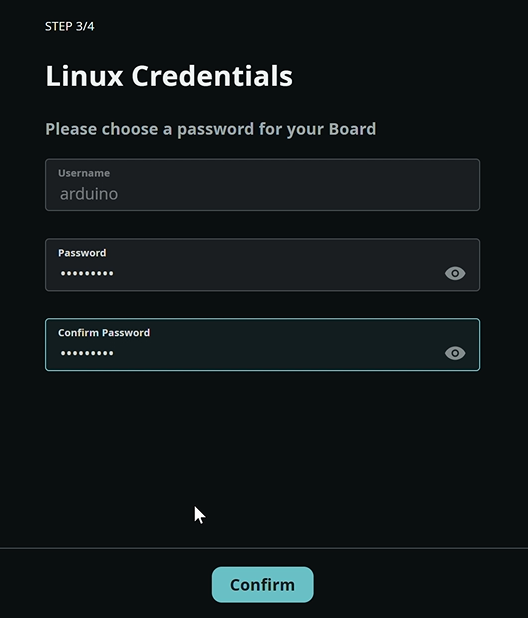
Create Board Credentials
To secure access to the Linux environment running on the UNO Q, Arduino App Lab will prompt you to create a password.
Enter:
- A new password
- Confirm the password again.
These credentials will later be used for accessing the board and performing administrative operations.
After confirming the password, click Confirm.
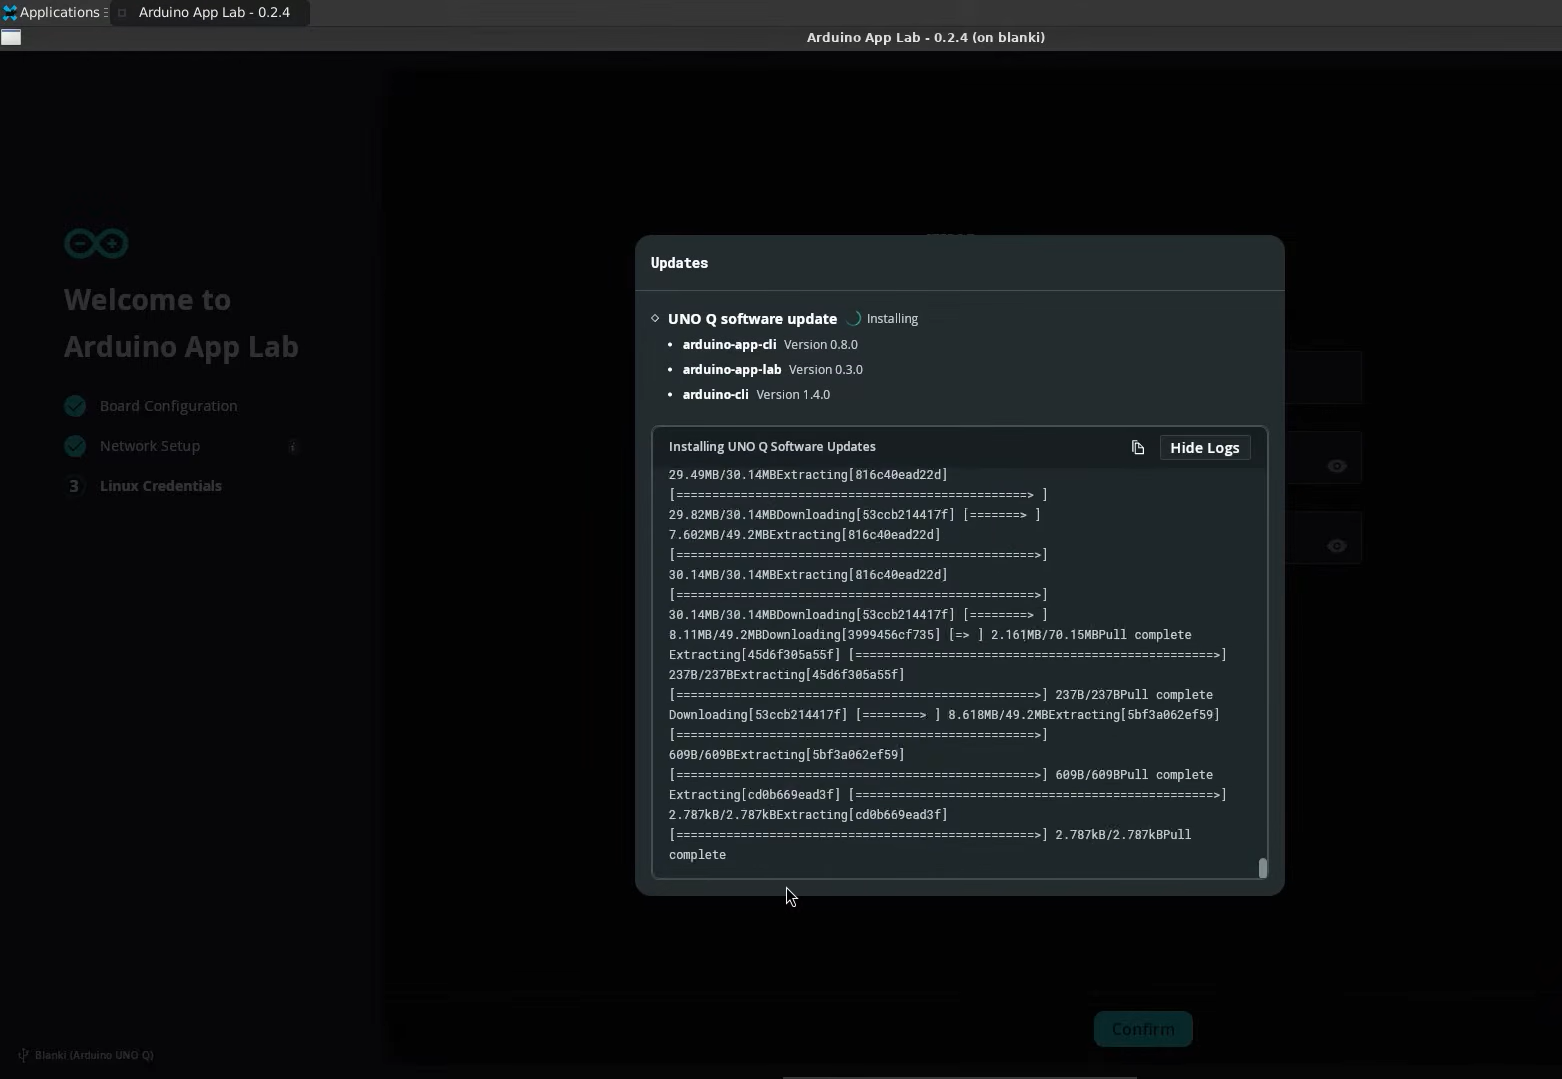
Software Installation and Board Provisioning
After the network configuration and credential setup are complete, Arduino App Lab automatically prepares the Arduino UNO Q for development. A software update window appears, displaying the progress of the installation process. During this stage, the application downloads, installs, updates, and configures the required system components needed for the board's Linux environment and development workflow.
The installation process includes:
- Downloading the latest software packages
- Updating existing system components
- Configuring board communication services
- Setting up development tools
- Enabling required background services
- Preparing the Linux environment for deployment and application development
The installation log is displayed in real time, allowing users to monitor the progress of each operation being performed on the board. Depending on your internet connection and software version, this process may take several minutes to complete.
Restart Arduino App Lab
Once the software installation process has been completed successfully, Arduino App Lab will prompt you to restart the application.
Click Restart Arduino App Lab to apply the newly installed configurations and services. The application will automatically relaunch itself.
Explore the Arduino App Lab Dashboard
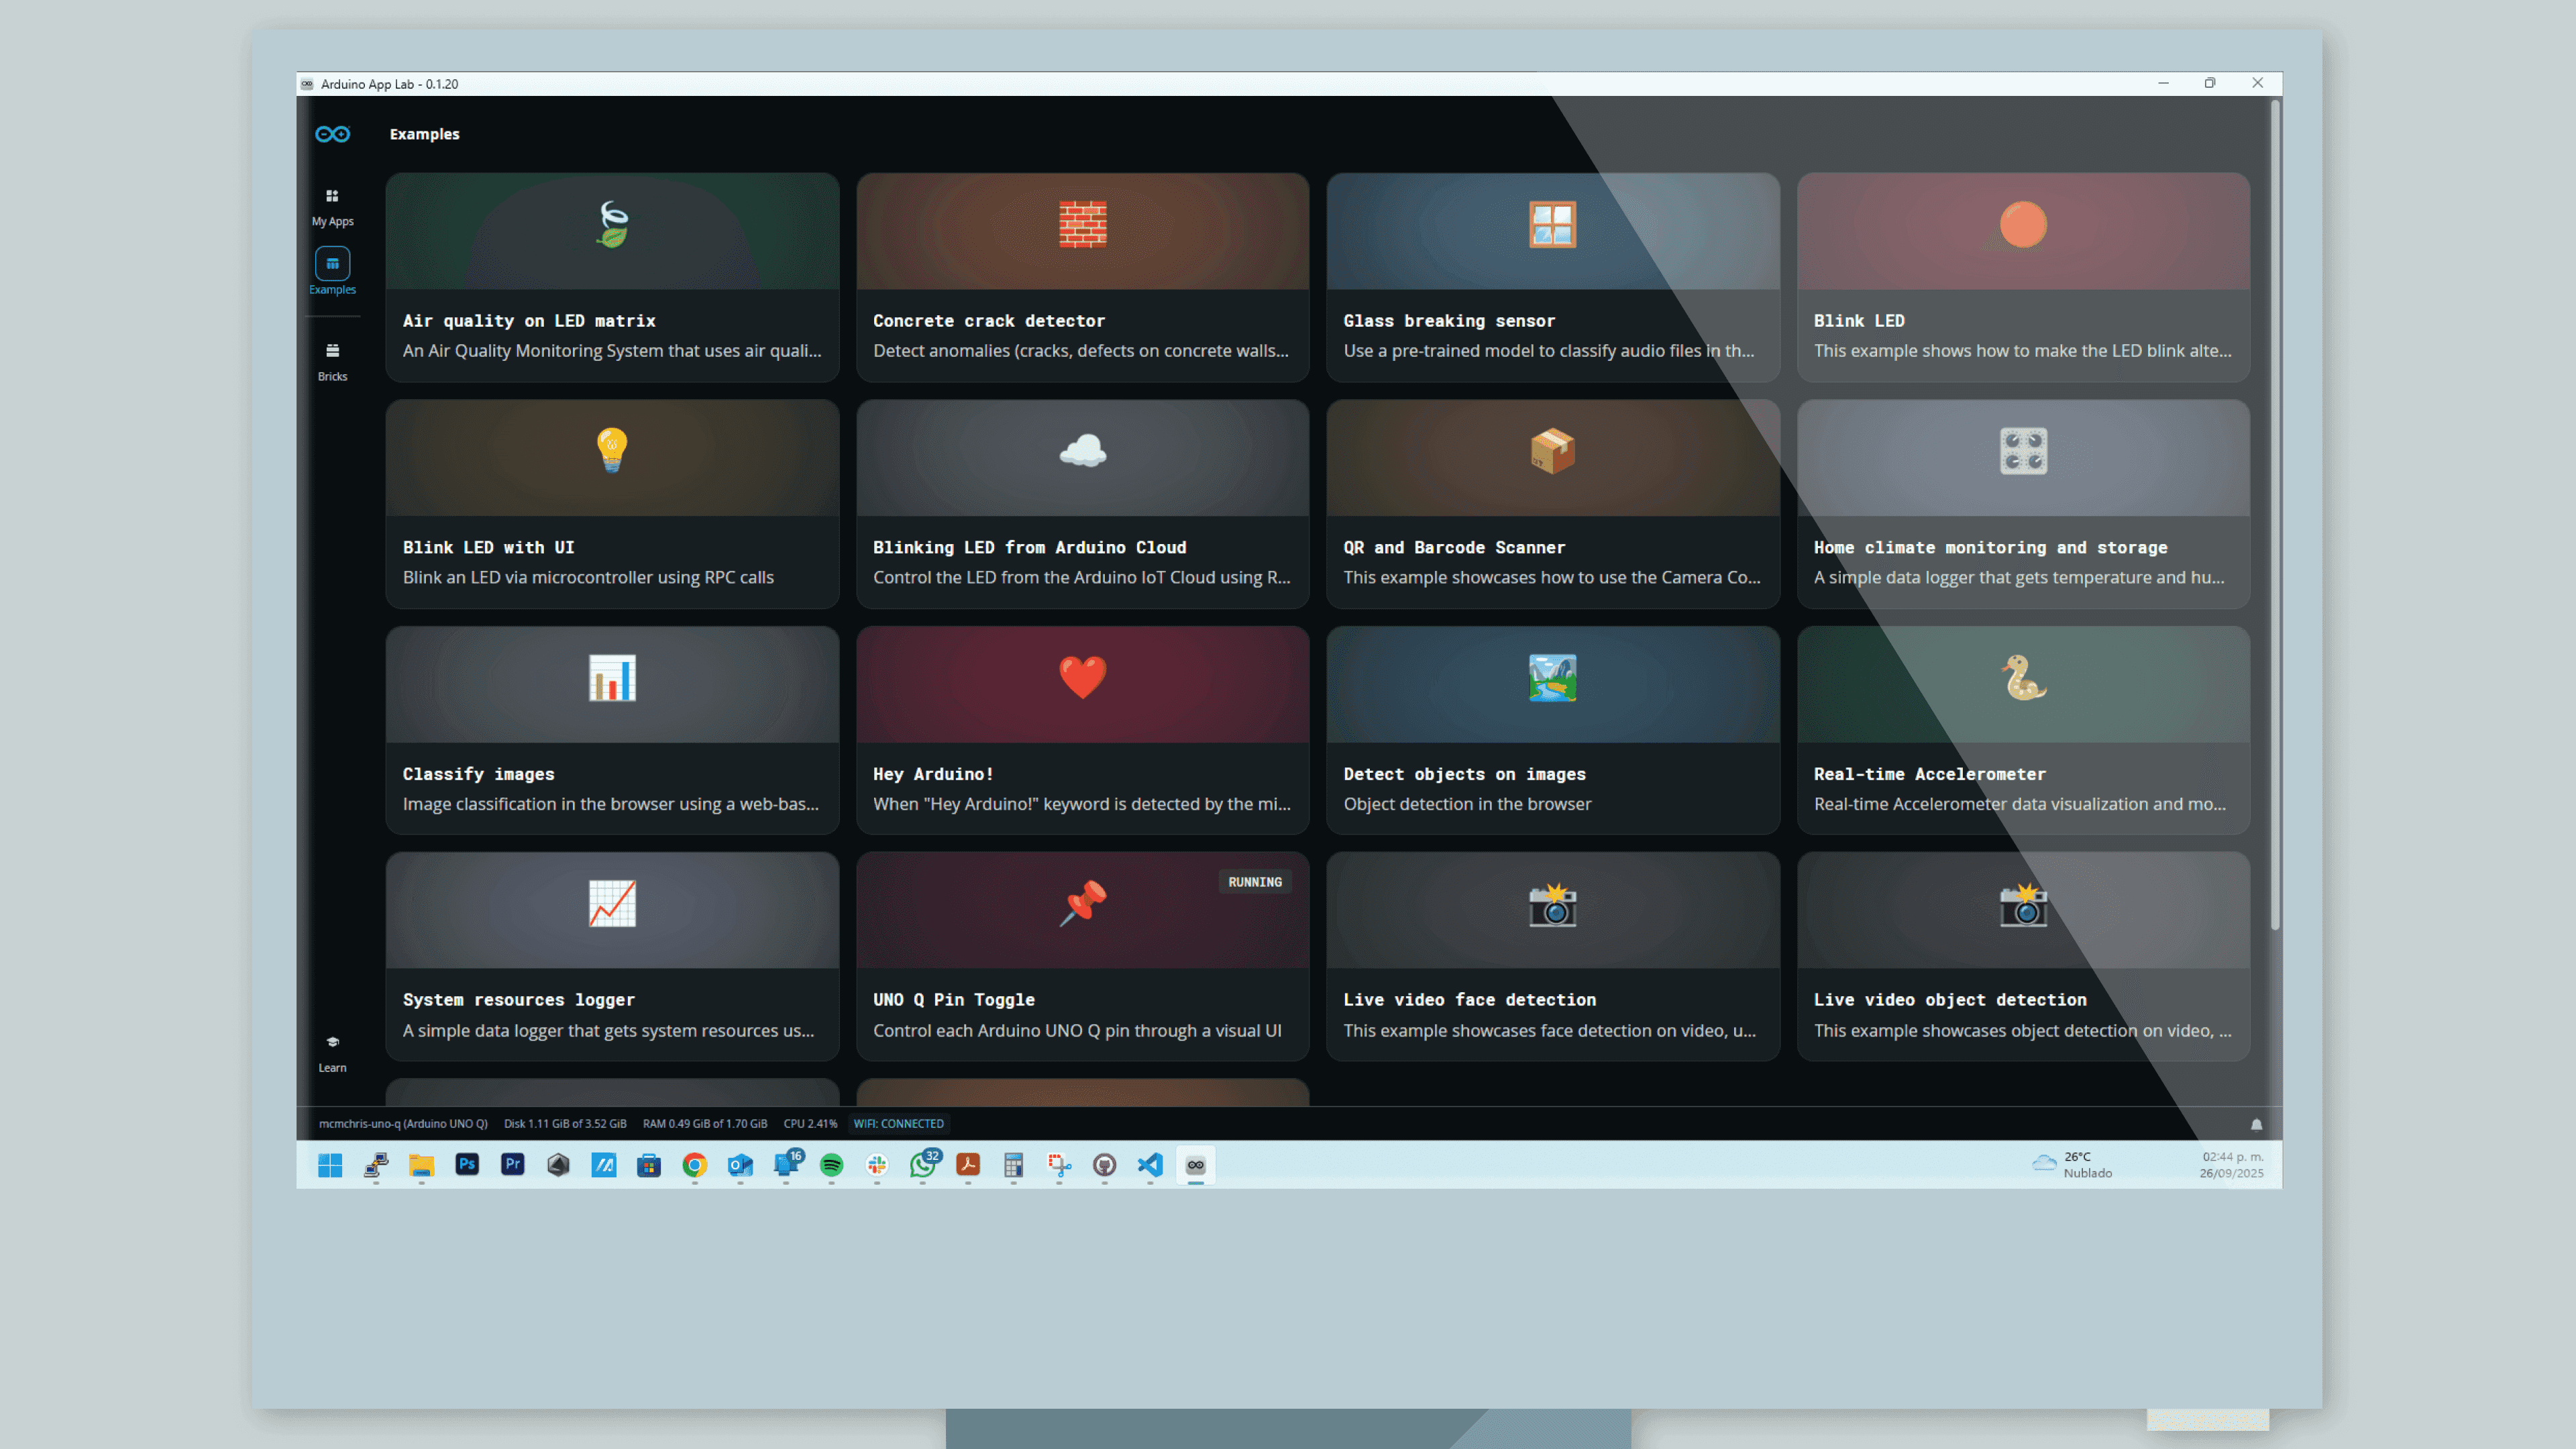
After Arduino App Lab restarts, it automatically reconnects to your board and opens the main dashboard which contains a collection of ready-to-run projects designed specifically for the UNO Q.
These examples cover a variety of applications, including:
Each example provides a practical way to explore the capabilities of the board and understand how the Linux processor and STM32 microcontroller work together. Each example can be opened, duplicated, modified, and deployed, making the Examples Dashboard an excellent starting point for learning the platform and building custom applications.
The dashboard also provides quick access to sections such as:
- My Apps
- Device Management
- Browser Tools
- Learning Resources
- Settings
- Account Management
Your Arduino UNO Q is Ready!
From this point onward, your Arduino UNO Q is fully configured and ready for development. You can begin exploring the built-in examples, create your own applications, or start building advanced AI, IoT, robotics, and edge-computing projects.
-

-

November 27, 2025
Connecting the Dots: How Electronic Components Work Together in Devices -

November 27, 2025
How reliable is your electronics components supplier